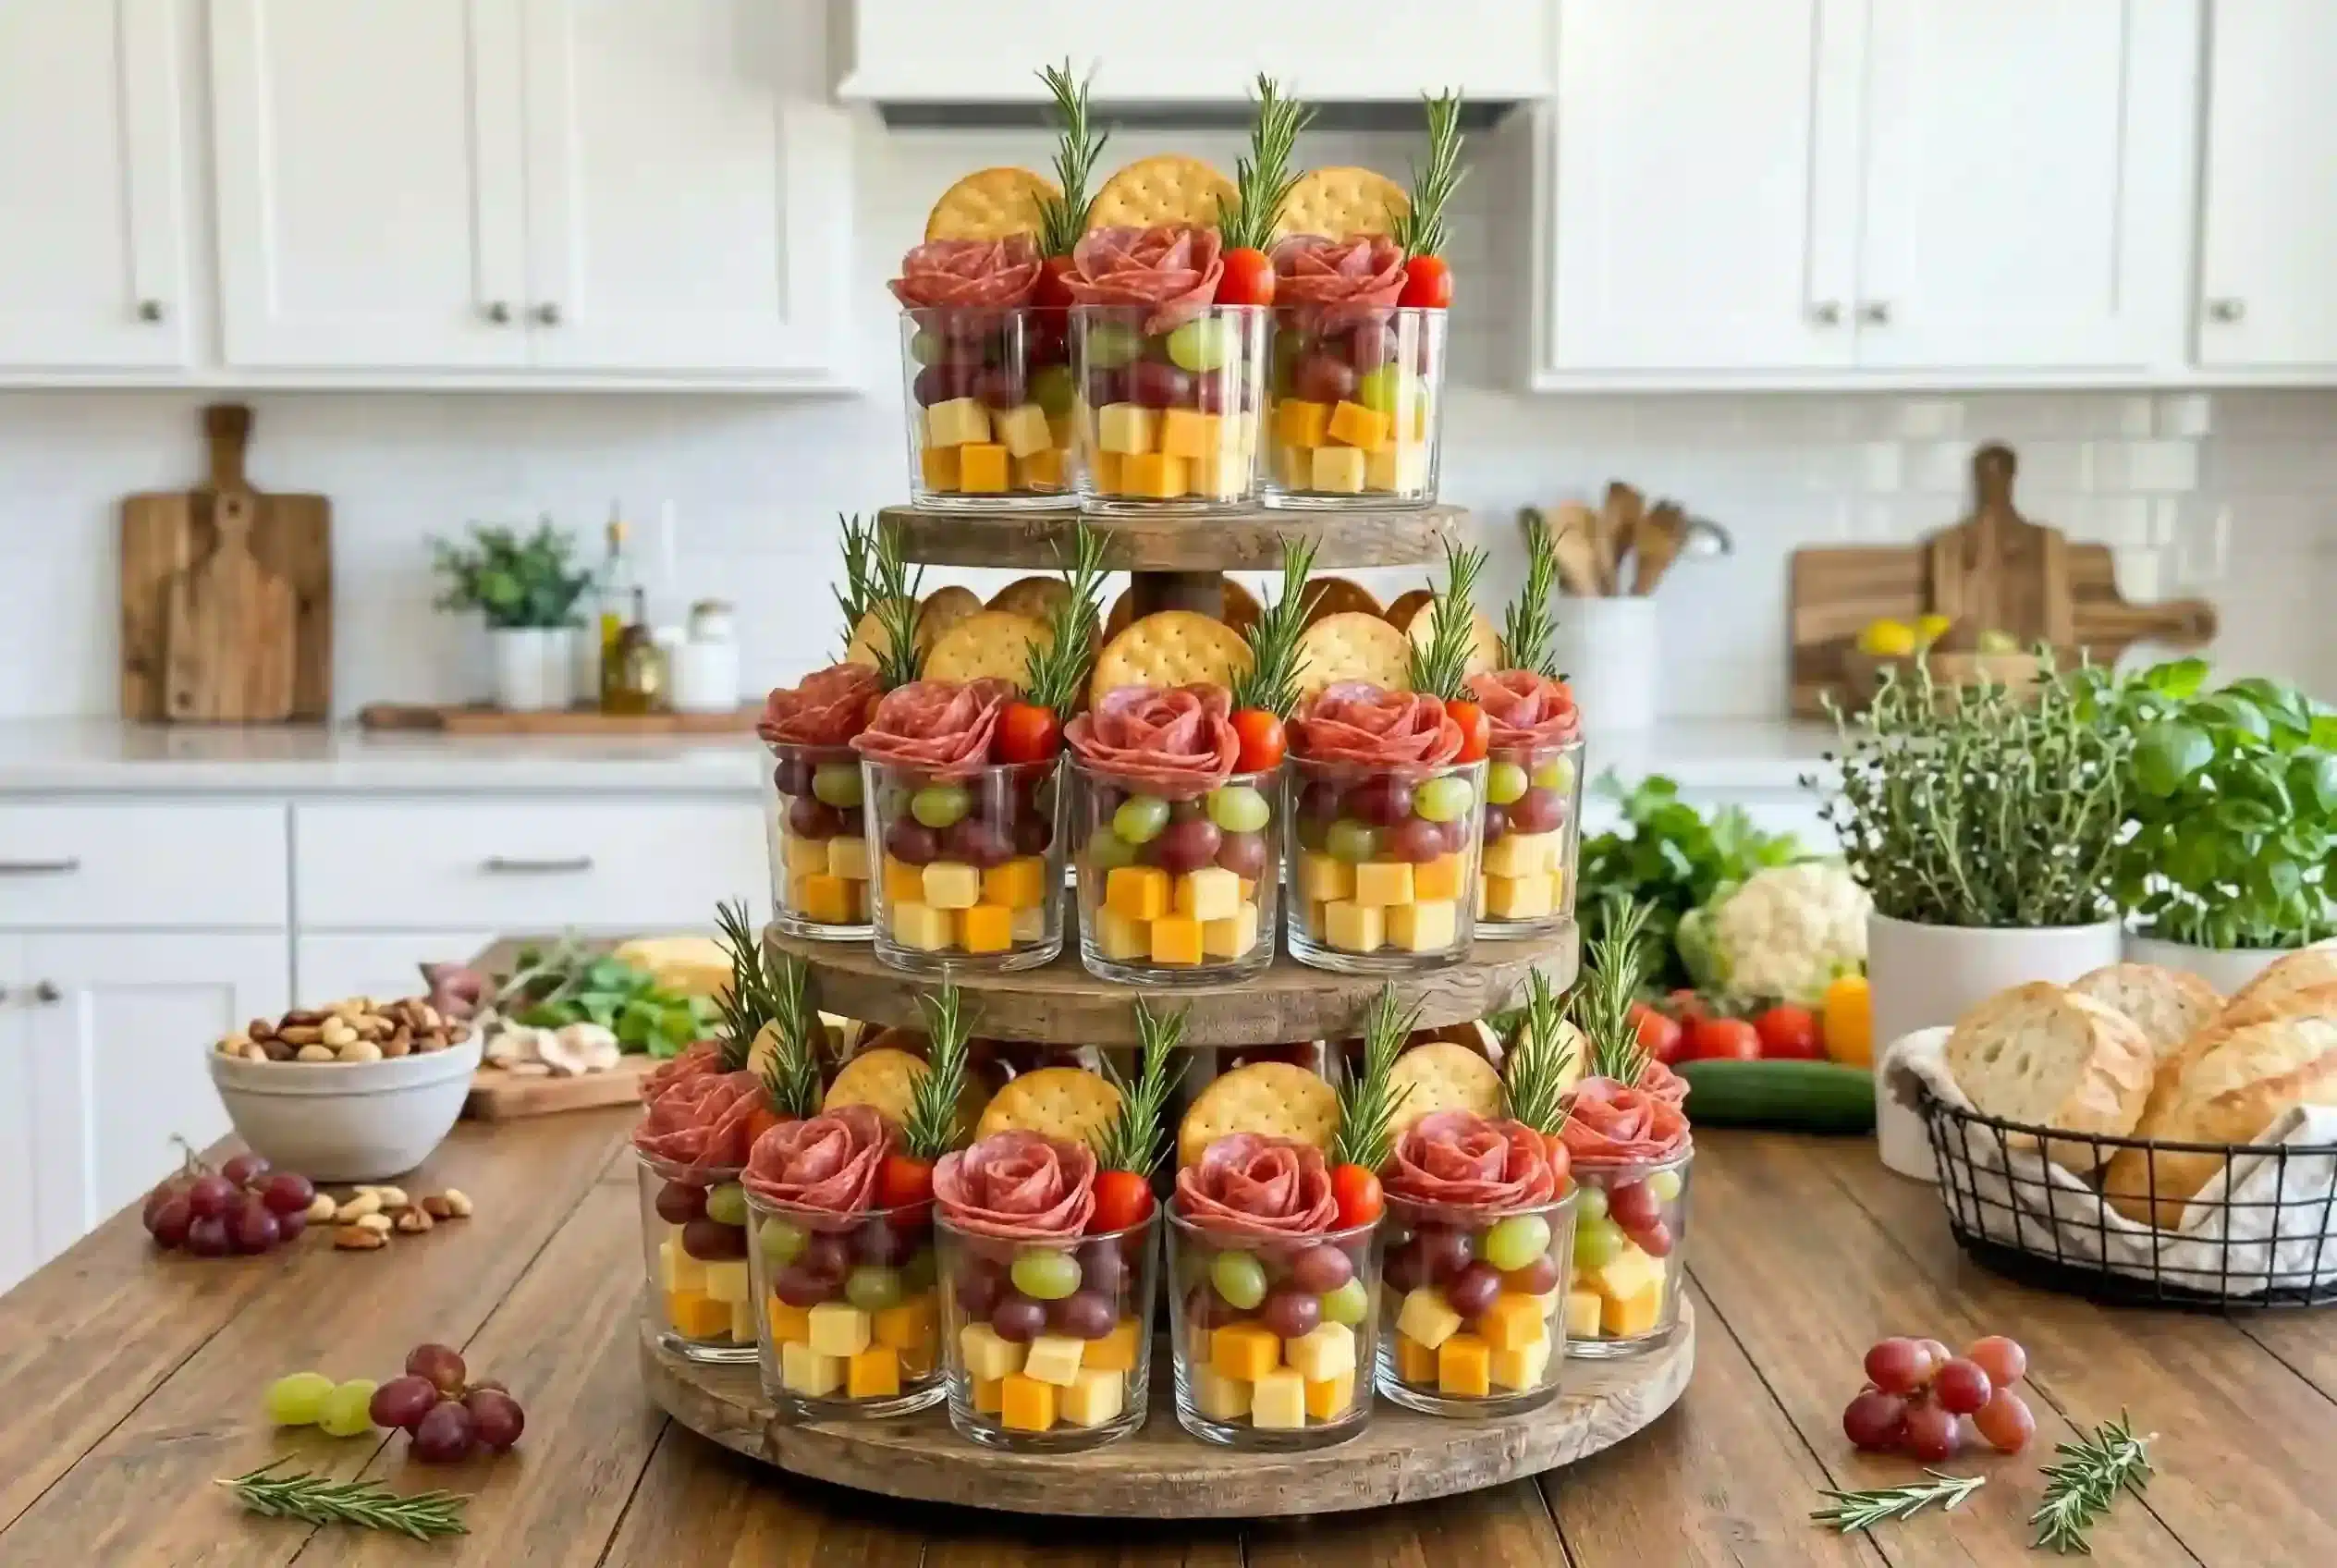
Charcuterie Cup Tower Board is my go to trick when I want the wow factor but I do not want to babysit a giant platter all night. You know that moment when guests arrive at different times, and the first people are hungry while you are still fixing your hair? This solves that.
Everyone grabs a cup, mingles, and you are not stuck slicing or rearranging food every ten minutes. Plus it feels festive for birthdays, showers, game day, and even those random Friday nights when you just want something fun.
Let me show you exactly how I build mine so it looks cute, stays sturdy, and tastes amazing.
Key Benefits of Charcuterie Cup Tower Board
The biggest benefit is that it is already portioned. Instead of hovering over a big board with a line forming, each person gets their own little snack situation. I also love how it keeps things a bit more sanitary, especially for kids parties where everyone is grabbing with the same hands.
It is also surprisingly flexible. You can make it fancy with prosciutto and brie, or keep it super casual with cheddar cubes and pepperoni. I have even done a morning version with mini muffins and fruit after getting inspired by these breakfast charcuterie boards.
Here are a few more reasons I keep coming back to this idea:
- Easy to prep ahead, so you are not assembling when guests arrive.
- Portable, great for backyard parties or potlucks.
- Less mess, since the tower holds everything in one place.
- Looks impressive even if you bought half the items pre sliced.
And let us be honest, the tower part makes people smile. It feels like an edible centerpiece.
Common Misconceptions About Charcuterie Cup Tower Board
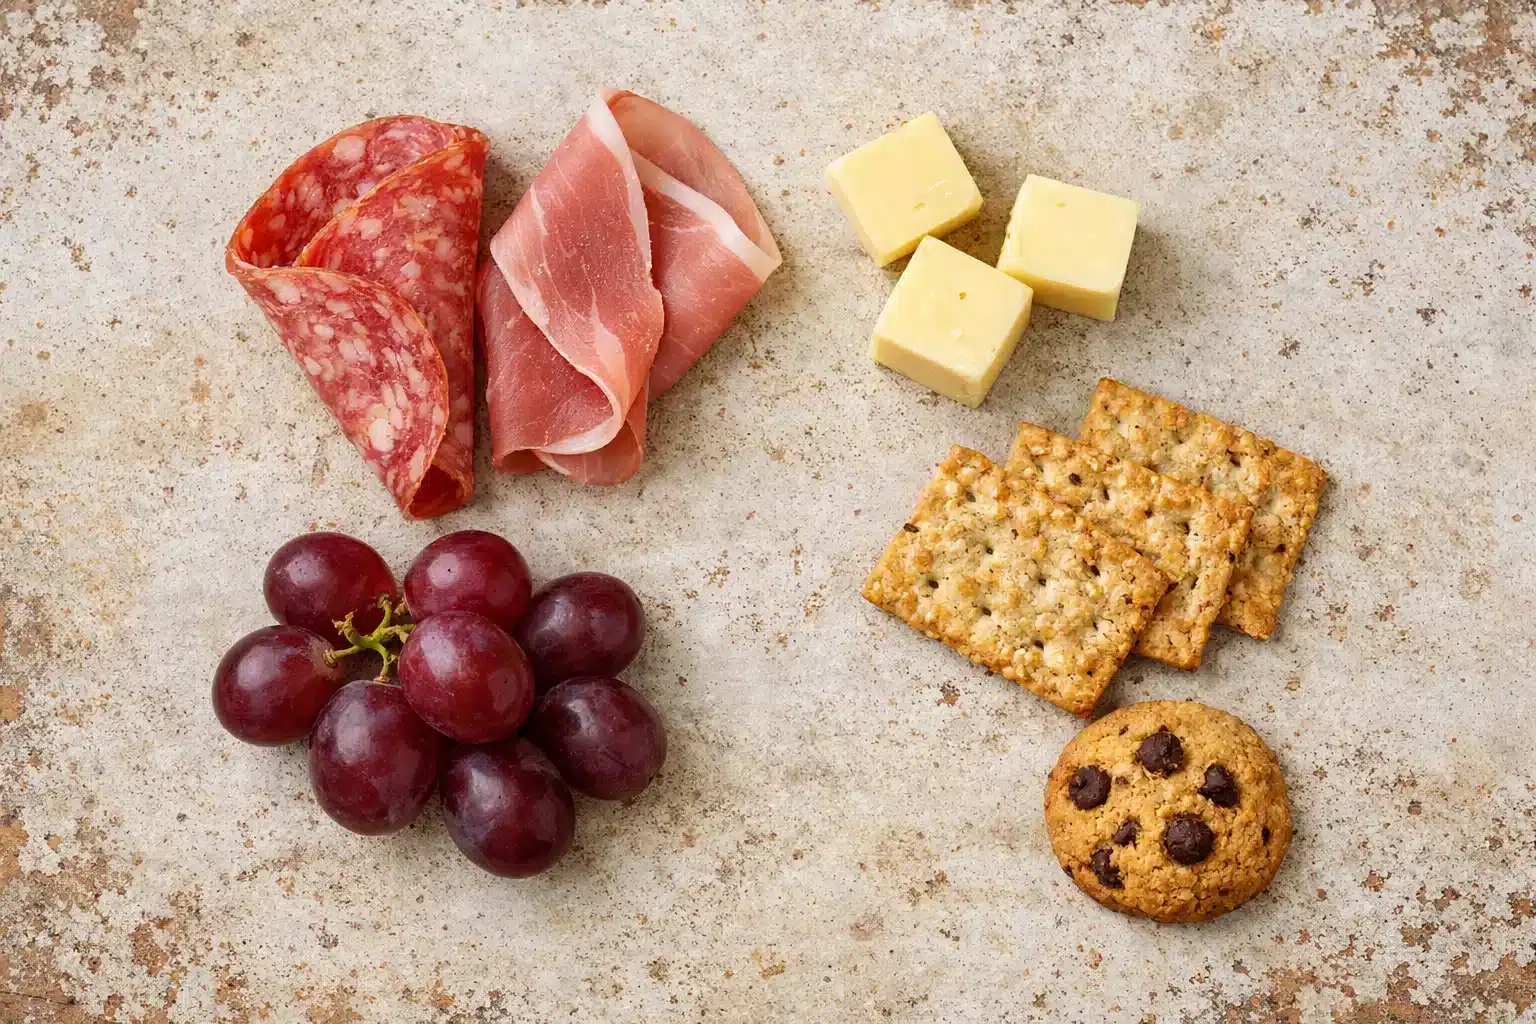
I have heard a few comments that make me laugh because I used to think the same things. The first one is that it has to be expensive. It really does not. If you mix in budget friendly fillers like grapes, pretzel sticks, crackers, and cubes of cheese, you can keep costs in check. One “fancy” cheese and one “everyday” cheese is usually plenty.
Another misconception is that the cups will get soggy. They can if you add juicy fruit right against crackers or bread. The fix is simple. Put wet items like grapes or berries toward the top and tuck crackers along the side. If you want to include something like pickles or olives, keep them in a tiny separate container or add them right before serving.
People also assume you need special supplies. Nope. You can use small clear plastic cups, paper cups, or even reusable mini tumblers. I have used what I already had and it still looked cute.
Lastly, some folks think a tower means it is hard to transport. The truth is the board can be moved separately from the cups. I often stack cups in the fridge on a tray, then build the tower when I arrive. Way less stress.
“I made this for my sister’s baby shower and everyone kept talking about how clever it was. The best part was zero leftovers on the table because people just took their cup and went back to chatting.”
Step-by-Step Guide to Build Your Own Charcuterie Cup Tower Board for Any Celebration
This is the part where I get very practical, because the magic is in the simple details. I am also adding a little reference table I use when I am planning how many cups to make.
What you will need
Keep it simple. You are building cups first, then building the tower.
- Board or base: a large cutting board, serving tray, or even a cake stand with a flat top
- Something to create height: small boxes wrapped in foil, upside down bowls, or sturdy jars
- Small cups: 9 to 12 ounce clear cups work well
- Skewers or toothpicks: for stacking items and making them easy to grab
- Charcuterie mix: meats, cheeses, fruit, crunch, and a little sweet
Choose your mix and shop smart
Here is my basic formula per cup. You do not need exact measurements, just a nice variety.
Per cup idea: 2 to 3 folded slices of meat, 3 to 4 cubes of cheese, a small handful of fruit, a few crackers or pretzels, and one sweet bite like chocolate or a mini cookie.
If you are doing a holiday party, you can lean into the theme. Around December I will sometimes pair this tower with a separate festive board like this Santa cheese board holiday hit situation for the table, then the cups are what people actually carry around.
Assemble the cups so they look full
This is where people either overthink it or underfill the cup. The trick is to build from the “tall” items first.
1) Add a small bunch of pretzel sticks or breadsticks on one side so you instantly get height.
2) Fold deli meat into loose ribbons and tuck it in, so it looks abundant.
3) Add cheese cubes or slices rolled up and secured with a toothpick.
4) Slide in crackers last so they stay crisp and do not get buried.
5) Finish with fruit at the top so it looks fresh and colorful.
If you want a little extra sparkle, add a rosemary sprig or a tiny label flag. It makes it feel like a party favor.
Build the tower without it wobbling
My tower method is not fancy, but it is sturdy. I place a base board down, then put 2 or 3 “risers” in the middle. Those can be small boxes or upside down bowls. Then I cover them with parchment paper or a napkin so it looks clean.
After that:
1) Put the heaviest cups on the bottom level.
2) Build the second level with slightly lighter cups, leaving a little space between them.
3) Add the top level with the lightest cups, usually the ones with more crackers and less fruit.
4) Fill gaps with little clusters of grapes or nuts for a finished look.
If you are serving dessert too, I love having a sweet tray nearby. These vanilla cupcakes are a safe crowd pleaser and they make the whole spread feel complete.
Expert Tips for Success in Charcuterie Cup Tower Board
I have made this enough times to learn what works and what turns into a headache. Here are the tips I wish I knew the first time.
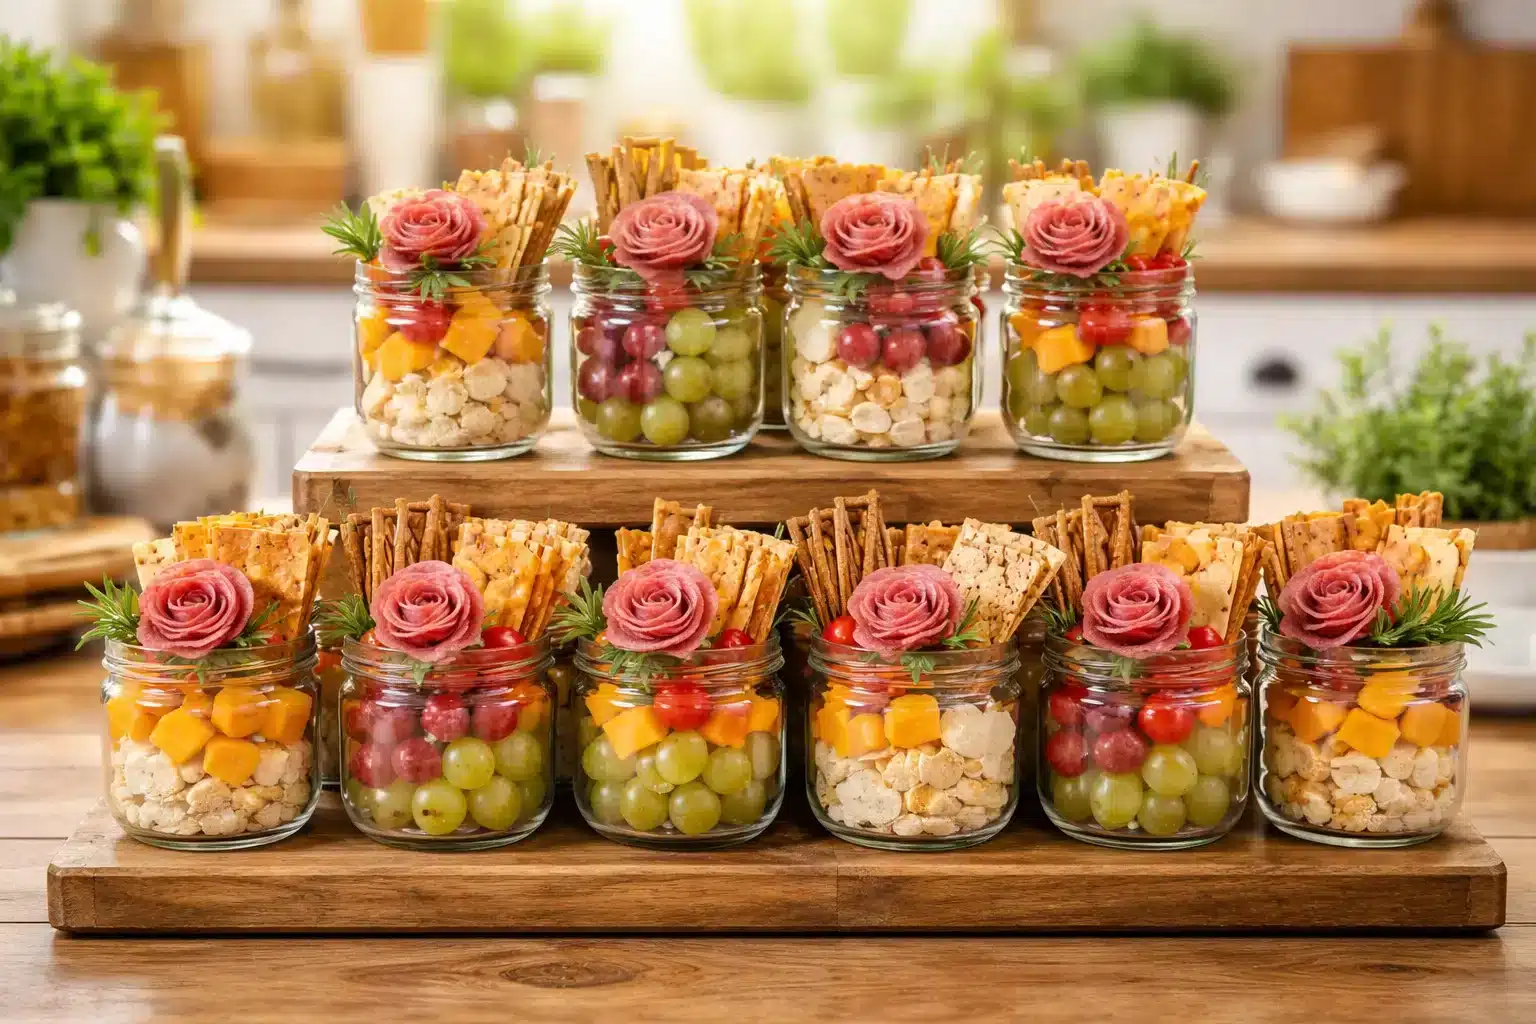
- Keep textures balanced. Every cup should have something soft, something crunchy, and something juicy. That is what makes it feel like a full snack instead of random bits.
- Do not overload wet ingredients. A few grapes or berries are perfect. Too much and it can drip. If you want to add olives or pickles, tuck them into a tiny mini cup inside the big cup, or add them to the side of the board as an optional add on.
- Use “anchors” to stop sliding. If your base board is slippery, place a folded kitchen towel underneath it. If cups slide, line the riser surface with a non slip shelf liner cut to size.
- Think about dietary needs. I like making a few cups that are nut free, and a few that are gluten free using gluten free crackers. If you also need dessert ideas, these gluten free cupcakes are great so nobody feels left out.
- Label the cups if needed. If you have spicy salami in some and mild turkey in others, a quick little label avoids confusion. It is also helpful if you have vegetarian cups.
And a quick reality check, this does not have to be perfect. Even if your cups look slightly different, the tower still looks awesome because the overall effect is colorful and layered.
Resources and Tools for Further Learning
If you want to get even better at building snack spreads, I recommend saving a few “template” ideas in your head so you can mix and match based on the season.
Here are some simple tools that make life easier:
Mini tongs for placing meats and cheeses neatly without handling them too much.
Bamboo picks for stacking cheese, salami, and a grape on top like a tiny skewer.
Small clear cups so guests can see the layers.
A sturdy base like a thick wood board or a tray with handles.
For inspiration, I also like browsing themed treats and party food ideas. When it is October, my brain goes straight to cute spooky desserts, like these halloween candy cupcakes, and it reminds me that a snack table can be playful, not just fancy.
Common Questions
How many cups should I make per person?
For most parties, plan on 1 cup per person if you have other food. If it is the main snack, 2 cups per person is safer, especially for teens and hungry adults.
Can I make a Charcuterie Cup Tower Board the night before?
Yes, mostly. Assemble cups without crackers, cover, and refrigerate. Add crackers right before serving so they stay crisp.
What meats and cheeses work best?
For meats, salami, pepperoni, turkey, and prosciutto are easy. For cheese, cheddar cubes, gouda, pepper jack, and brie bites work well. Stick to items that hold their shape.
How do I keep fruit from making everything wet?
Use whole grapes, dry berries well, and keep fruit near the top. Avoid super juicy fruit like watermelon in the cups unless you add it at the last second.
What if I do not have a big board for the tower?
Use a large baking sheet or serving tray. You can still create height with upside down bowls and cover them with napkins to make it look intentional.
A little pep talk before you build yours
If you take anything from this post, let it be this: Charcuterie Cup Tower Board is supposed to make hosting easier, not harder. Keep your ingredients simple, build the cups with height and color, and do not stress if every cup is not identical.
If you want a shortcut, you can even grab ready made Charcuterie Cups | Olive & Meadow for a busy week, or order cute extras like Charcuterie Favor Cups and Toothpicks for Individual … – Etsy when you want it to feel like a party favor.
Try it once, take a picture, and you will see why I keep coming back to it for basically every celebration.
Charcuterie Cup Tower Board
Ingredients
Base Ingredients
- 1 large cutting board or serving tray For building the tower base.
- 6-8 pieces small boxes or bowls To create height for the tower.
- 10-12 ounce small clear cups For serving individual portions.
- 10-15 pieces skewers or toothpicks For stacking items in the cups.
Charcuterie Mix
- 10-12 slices deli meats (e.g., salami, prosciutto) Folded and used in cups.
- 10 cubes cheese (e.g., cheddar, gouda, brie) Folded or sliced for cups.
- 1 small handful fruits (e.g., grapes, berries) To be added at the top of the cups.
- 10 pieces crackers or pretzels To include in the cups.
- 5 pieces sweet bites (e.g., chocolate, mini cookies) To satisfy the sweet tooth.
Instructions
Preparation of Ingredients
- Gather all the ingredients and tools needed for assembly.
- Prepare cups by placing height items like pretzel sticks or breadsticks first.
Assembling the Cups
- Fold deli meat into ribbons and tuck them into the cups.
- Add cheese cubes or slices and secure with a toothpick.
- Place crackers last to keep them crisp.
- Top with fresh fruits for a colorful appearance.
- Add a decorative touch like a rosemary sprig or label flag if desired.
Building the Tower
- Place a base board down and add 2-3 risers in the middle.
- Cover risers with parchment paper or a napkin.
- Start stacking cups, placing the heaviest ones at the bottom.
- Fill gaps with clusters of grapes or nuts for a finished look.