Why Make This Recipe
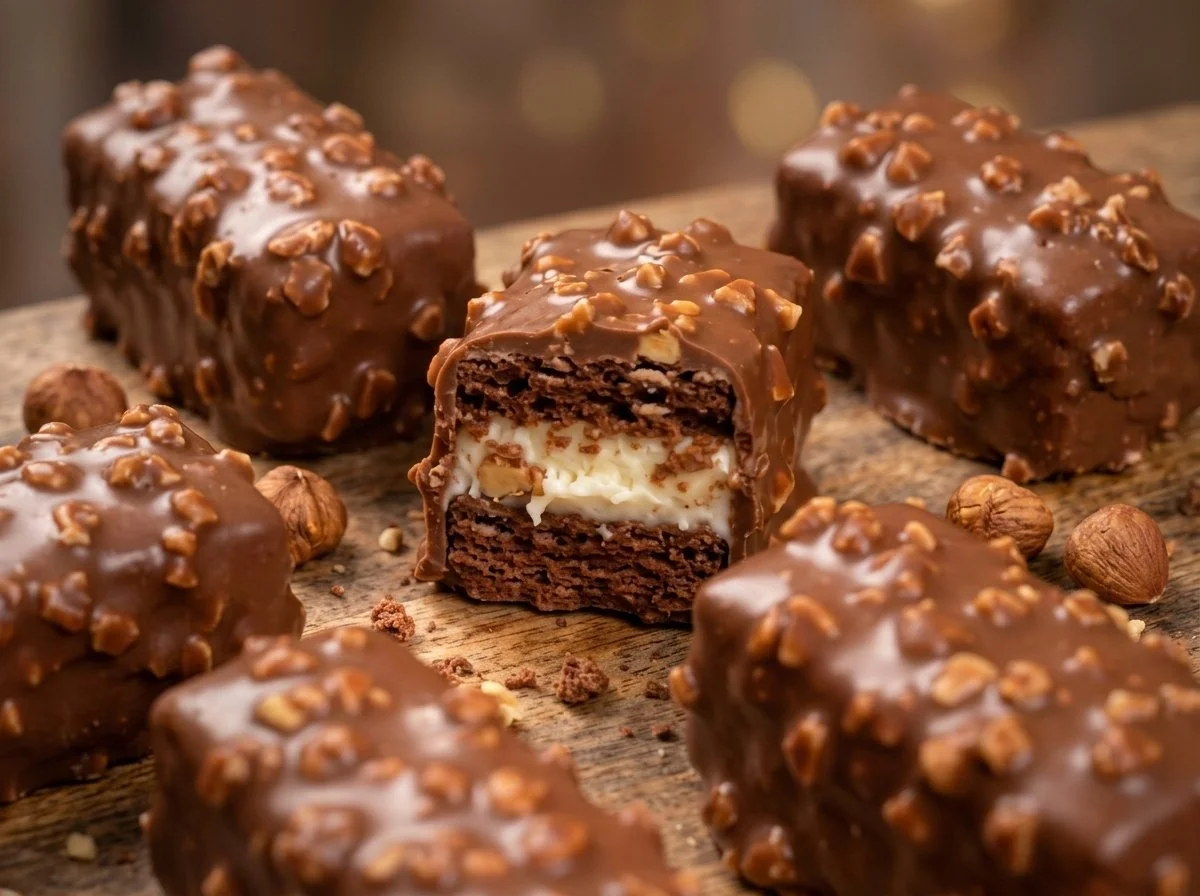
Chocolate Sandwich Bars are a delightful treat that combines the rich flavor of chocolate cake with a creamy, dreamy filling and a crunchy nutty coating. They are perfect for any occasion, whether you are hosting a gathering or looking for a delicious dessert to enjoy at home. The combination of textures and flavors makes these bars truly irresistible. Not to mention, they are fun to make and can be a great activity to do with the family. Along with these bars, you might also enjoy exploring other unique recipes; for example, check out these crispy fried zucchini sandwich stacks for a savory twist!
How to Make Chocolate Sandwich Bars
Making Chocolate Sandwich Bars is straightforward and rewarding. Here’s how you can prepare them in your kitchen.
Ingredients:
- Chocolate cake batter – This will serve as the base of your bars, giving them a rich chocolate flavor.
- White cream filling – This creamy layer will sit between the chocolate layers and add a smooth texture.
- Milk chocolate – Used for coating the bars, milk chocolate enhances the sweet profile and balances the flavors.
- Chopped nuts – These add a crunchy texture to the coating and can be customized based on your preference.
Directions:
-
Bake the Chocolate Batter: First, prepare your chocolate cake batter and pour it into a thin rectangular baking tray. Make sure to spread it evenly.
-
Cool and Cut the Layers: Once baked, allow the cake to cool completely. After cooling, cut the cake into two equal sections.
-
Spread the Cream Filling: Take one half of the chocolate cake and spread a generous layer of the white cream filling over it.
-
Top with Second Layer: Place the second half of the chocolate cake on top of the cream-filled layer to create a sandwich.
-
Cut into Bars: Now, cut the double-layered treat into small rectangular bars.
-
Dip in Chocolate: Melt the milk chocolate in a bowl. Once melted, dip each bar completely into the chocolate, ensuring they are well-coated.
-
Add Nuts: While the chocolate coating is still wet, sprinkle or dip the coated bars into the chopped nuts for that extra crunch.
-
Set: Let the coatings set completely before serving. You can place them in the fridge to speed up the setting process.
How to Serve Chocolate Sandwich Bars
Serving Chocolate Sandwich Bars is simple yet enjoyable! You can present them on a decorative plate or platter, perhaps sprinkled with some extra chopped nuts or drizzled with melted chocolate for aesthetic appeal. They pair wonderfully with a glass of milk or coffee. If you’re feeling fancy, you can even serve them with a side of fresh berries or a scoop of vanilla ice cream for indulgence.
How to Store Chocolate Sandwich Bars
To keep your Chocolate Sandwich Bars fresh, store them in an airtight container. If they are packed close together, place a layer of parchment paper in between to avoid sticking. You can store these bars at room temperature for about 3-5 days. If you want them to last longer, you can keep them in the refrigerator for up to a week. These bars can also be frozen; just wrap them individually in plastic wrap and place them in a freezer bag. They can be frozen for up to three months. Simply leave them at room temperature to thaw when you’re ready to enjoy.
Tips to Make Chocolate Sandwich Bars
-
Bake Evenly: When baking the chocolate batter, keep an eye on the oven temperature. An even bake will help achieve uniform layers.
-
Make it Customizable: You can experiment with different fillings, such as Nutella or flavored creams, to suit your taste buds.
-
Add Flavor: Consider adding a splash of espresso or vanilla extract to the cake batter for an extra flavor boost.
-
Toppings: Besides chopped nuts, think about adding crushed cookies or sprinkles on top of the chocolate coating for variety.
Variation
You can make these bars gluten-free by substituting regular flour with a gluten-free blend. Additionally, if you want to cater to different dietary needs, use vegan chocolate and a plant-based cream filling to create a vegan version.
FAQs
1. Can I use dark chocolate instead of milk chocolate?
Yes! Dark chocolate can be used for a richer taste. Just keep in mind that it may raise the overall chocolate intensity.
2. How do I know when the cake is done baking?
You can use a toothpick inserted into the center of the cake. If it comes out clean or with a few moist crumbs, your cake is done!
3. Can I prepare these bars ahead of time?
Absolutely! You can prepare them a day in advance, and they store well, making them a great choice for parties or gatherings.
Conclusion
Chocolate Sandwich Bars are a delightful treat that anyone can prepare with ease. Their rich flavors and creamy texture make them a perfect dessert for any occasion. For those interested in trying another delicious dessert, you can find the recipe for Delicious Healthy Matcha Mochi Muffins on the Lemon8 app. Enjoy the baking!
Chocolate Sandwich Bars
Ingredients
For the chocolate cake
- 1 batch Chocolate cake batter This will serve as the base of your bars, giving them a rich chocolate flavor.
For the cream filling
- 1 batch White cream filling This creamy layer will sit between the chocolate layers and add a smooth texture.
For the coating
- 1 cup Milk chocolate Used for coating the bars, it enhances sweetness and balances the flavors.
- 1 cup Chopped nuts These add a crunchy texture to the coating and can be customized based on your preference.
Instructions
Preparation
- Prepare your chocolate cake batter and pour it into a thin rectangular baking tray, spreading it evenly.
- Bake the chocolate batter at the appropriate temperature until cooked through, approximately 25 minutes, then allow the cake to cool completely.
- Once cooled, cut the cake into two equal sections.
- Spread a generous layer of the white cream filling over one half of the chocolate cake.
- Place the second half of the chocolate cake on top of the cream-filled layer to create a sandwich.
- Cut the double-layered treat into small rectangular bars.
- Melt the milk chocolate in a bowl and dip each bar completely into the melted chocolate, ensuring they are well-coated.
- While the chocolate coating is still wet, sprinkle or dip the coated bars into the chopped nuts.
- Let the coatings set completely before serving, placing them in the fridge to speed up the process if desired.